Solar Panels: Top 8 New Ways to Install Them at Home Easily
Learn how to install solar panels at home with this comprehensive guide. From assessing your roof’s potential to wiring and connecting the system, this beginner-friendly guide will walk you through each step for a successful solar installation.

Switching to solar energy is one of the best decisions you can make for both your wallet and the environment. By learning how to install solar panels at home, you can harness the power of the sun to generate clean, renewable energy, reduce your carbon footprint, and save on your electricity bills. Whether you’re a DIY enthusiast or simply looking to understand the process before hiring professionals, this comprehensive guide will walk you through everything you need to know about installing solar panels at home.
Table of Contents
Why Install Solar Panels at Home?
Before diving into the technical aspects of how to install solar panels at home, it’s important to understand the numerous benefits:
- Cost Savings: Once installed, solar panels can significantly reduce your electricity bills. Over time, you may even generate more energy than you use, allowing you to sell excess energy back to the grid.
- Environmental Impact: Solar energy is clean and renewable, reducing your reliance on fossil fuels and lowering your carbon footprint.
- Energy Independence: Installing solar panels at home allows you to produce your own energy, making you less reliant on external electricity providers.
- Increased Home Value: Homes with solar panel installations are often seen as more desirable, potentially increasing your property’s value.
Now that you know why solar energy is beneficial, let’s get into how to install solar panels at home.

Step 1: Assessing Your Home’s Solar Potential
Before installing solar panels, you need to determine whether your home is suitable for solar energy. Here’s what to consider:
1. Roof Condition
Your roof should be in good shape before installing solar panels. Inspect your roof for any damages or weak spots that may need repair. Solar panels typically last 25–30 years, so it’s best to ensure that your roof will not require major work during that time.
2. Roof Orientation and Tilt
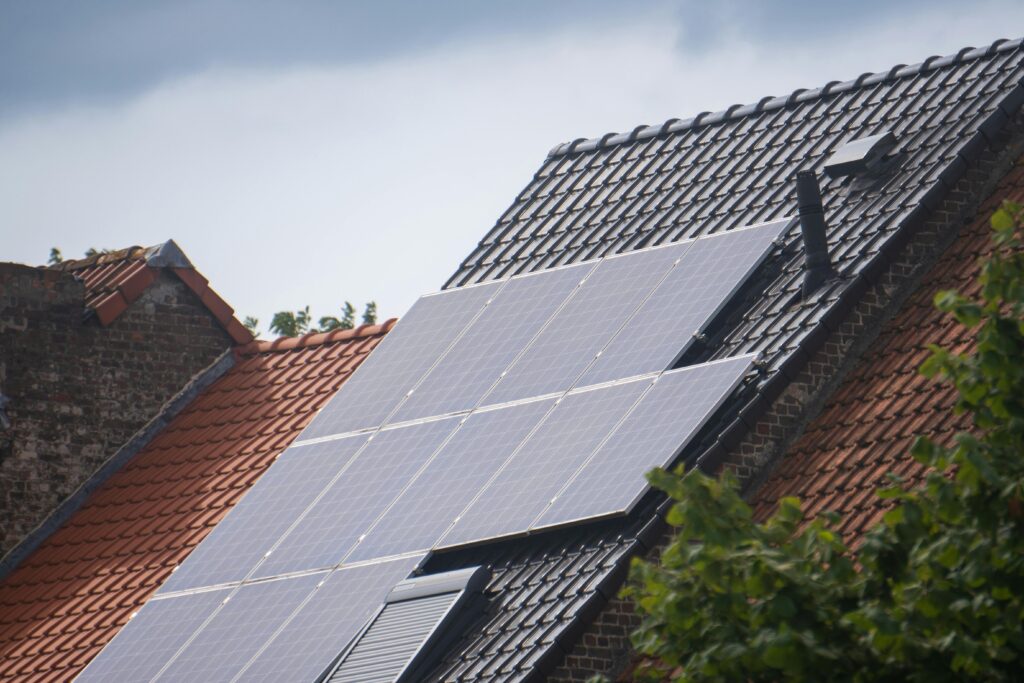
For maximum efficiency, solar panels should ideally face south in the northern hemisphere (and north in the southern hemisphere). The angle or tilt of your roof also plays a role; a slope between 30 and 45 degrees is optimal for solar panel installation. If your roof isn’t tilted or oriented perfectly, adjustable mounting systems can help.
3. Shading
Ensure that your roof receives plenty of sunlight throughout the day. Trees, tall buildings, and other obstructions that cast shadows on your roof can reduce the efficiency of your solar panels. You can use online tools like Google’s Project Sunroof to check your home’s solar potential.
Step 2: Calculate Your Energy Needs
The next step in how to install solar panels at home is determining how much energy your household consumes. This information will help you figure out the size of the solar panel system you’ll need. Here’s how to calculate it:
- Check Your Electricity Bills: Look at your electricity bills from the past year to see your monthly kilowatt-hour (kWh) usage. This will give you an idea of your average energy consumption.
- Consider Future Changes: If you plan on adding more appliances, expanding your home, or installing energy-efficient features, factor those into your energy needs.
- Size of the Solar System: To calculate the size of your solar panel system, divide your average monthly energy usage by your area’s average solar hours per day. For example, if your home uses 1,000 kWh per month and your area gets an average of 5 solar hours per day, you’ll need a system capable of producing 200 kWh per day.
Once you know how much energy you need, you can decide how many panels to install.
Step 3: Choose the Right Solar Panel System
There are different types of solar panels and systems available, so understanding your options is crucial in how to install solar panels at home. Here’s a breakdown of the main choices:
1. Types of Solar Panels
- Monocrystalline Panels: These are the most efficient and durable panels, but they are also more expensive. They are a great choice if you have limited roof space.
- Polycrystalline Panels: Slightly less efficient than monocrystalline panels but more affordable. They are a good option if you have ample roof space.
- Thin-Film Panels: These are lightweight and flexible but the least efficient. They are best suited for unconventional installations or areas with a lot of space.
2. Solar Panel Systems
- Grid-Tied System: This system connects your solar panels to the utility grid. If your solar panels produce excess energy, you can sell it back to the grid, and if you need more energy than your panels produce, you can draw from the grid.
- Off-Grid System: With an off-grid system, you rely entirely on the energy generated by your solar panels, often using batteries to store energy for nighttime or cloudy days.
- Hybrid System: This is a combination of grid-tied and off-grid systems, allowing you to use the grid when needed while also storing excess energy in batteries.
Selecting the right system is a crucial part of how to install solar panels at home.
Step 4: Purchase Your Solar Equipment
Once you’ve chosen your solar panel system, the next step in how to install solar panels at home is purchasing the necessary equipment. In addition to the solar panels themselves, you’ll need:
- Inverter: Converts the DC power generated by the panels into AC power for your home.
- Mounting System: Used to secure the solar panels to your roof.
- Battery (optional): If you’re installing an off-grid or hybrid system, you’ll need batteries to store excess energy.
- Wiring and Electrical Components: To connect the panels, inverter, and other components.
Make sure to choose high-quality equipment with warranties that cover the lifespan of your solar system.
Step 5: Install the Mounting System
Now, we’re getting into the actual installation part of how to install solar panels at home. Here’s how to install the mounting system:
- Mark the Placement: Using a measuring tape and chalk, mark where the mounting brackets will go based on the size of your panels.
- Install the Mounting Brackets: Attach the brackets to your roof using bolts and ensure they are secure. The brackets should be positioned at the same angle as your roof’s tilt.
- Seal the Holes: Use a roof sealant around the holes to prevent any leaks.
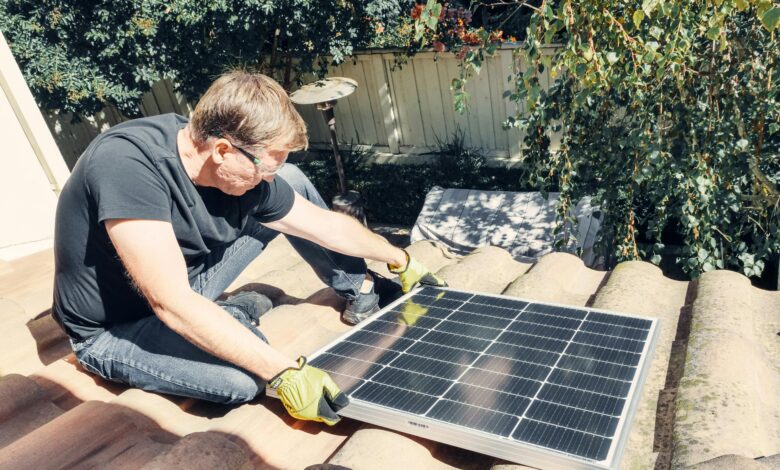
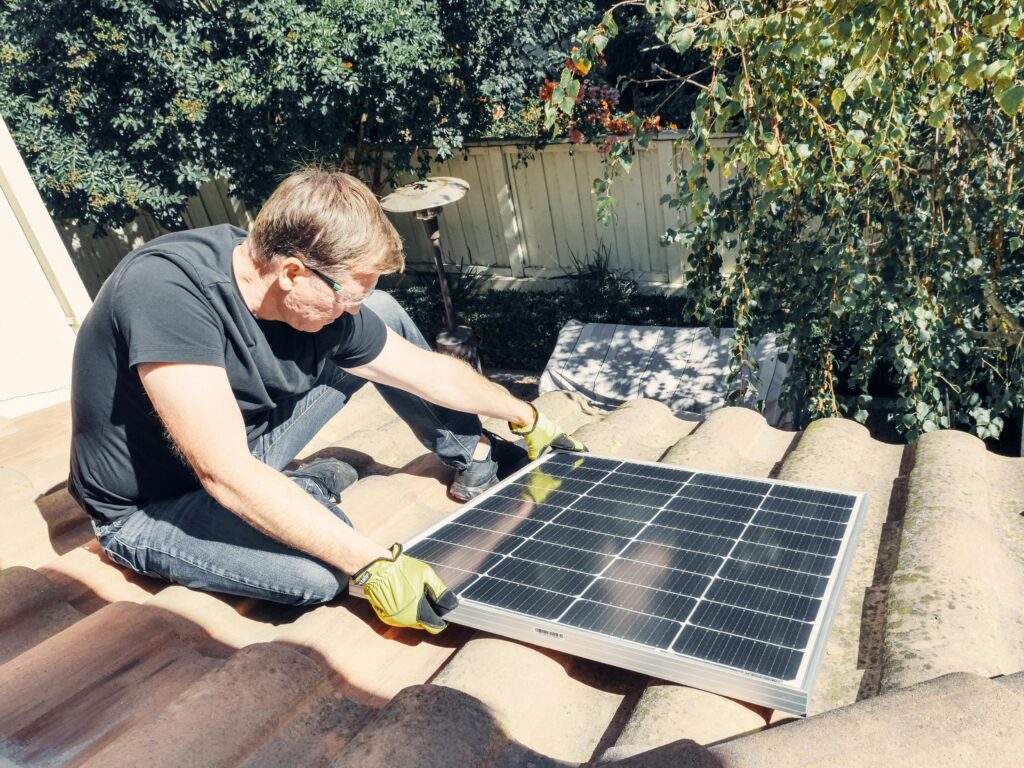
Step 6: Install the Solar Panels
Once the mounting system is in place, it’s time to attach the solar panels:
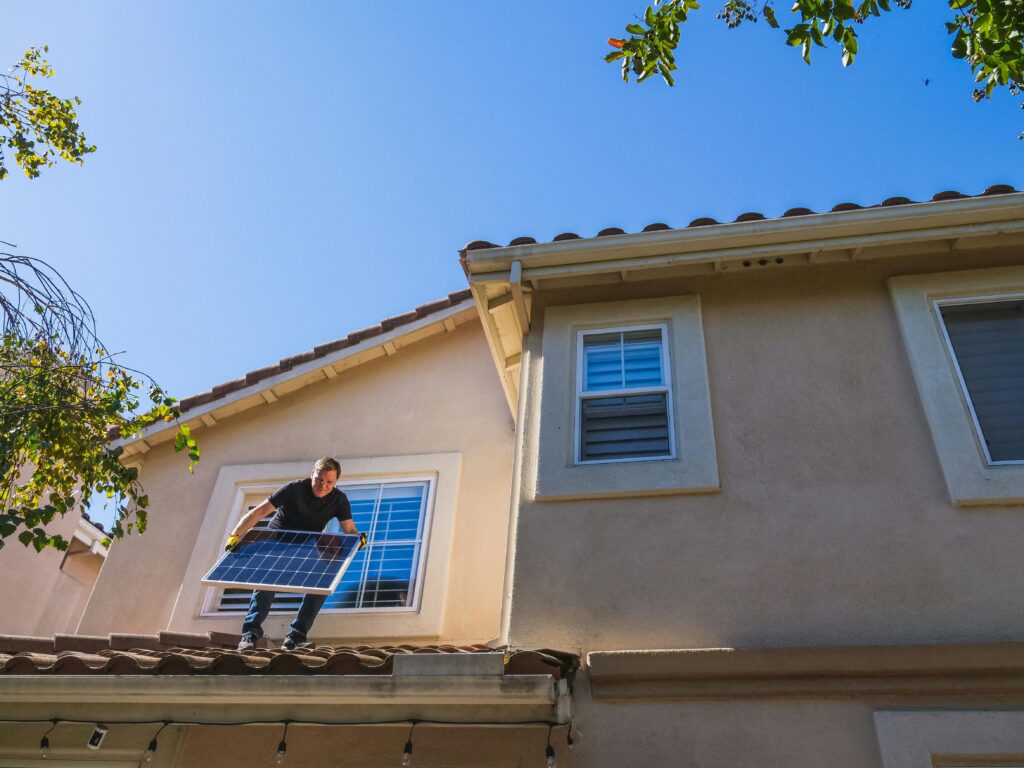
- Lift the Panels: Carefully lift the panels onto the mounting system, making sure to align them properly.
- Secure the Panels: Use the provided hardware to securely fasten the panels to the mounting brackets.
- Check the Angle: Double-check that the panels are facing the right direction and angle to capture maximum sunlight.
Installing the panels correctly is a key part of how to install solar panels at home.

Step 7: Wiring the System
Proper wiring is essential for connecting your solar panels to your home’s electrical system. Here’s what to do:
- Connect the Panels: Use the appropriate wiring to connect the panels together in a series or parallel configuration, depending on your system.
- Connect to the Inverter: The solar panels will be wired to the inverter, which converts the energy from DC to AC.
- Connect the Inverter to Your Home: The inverter is then connected to your home’s electrical panel, allowing the solar energy to power your household appliances.
If you’re not experienced with electrical work, it’s a good idea to hire a professional for this step in how to install solar panels at home.
Step 8: Test the System and Monitor Performance
After completing the installation, it’s time to test your system:
- Turn on the System: Switch on the inverter and monitor the flow of electricity from the solar panels to your home.
- Check the Output: Use a monitoring app or tool to track the performance of your solar panels and ensure they’re generating the expected amount of energy.
- Adjust if Necessary: If the output is lower than expected, check the angle, orientation, or any potential shading issues.
Step 9: Obtain Permits and Approvals
Depending on your location, you may need to obtain permits or approvals before activating your solar panel system. Contact your local government or homeowner’s association to find out about any specific requirements.
In many cases, you’ll also need to schedule an inspection to ensure that your installation complies with local building codes and electrical regulations.


